Saturday, January 4, 2014

Orange Cranberry Bread


I made this delicious orange cranberry bread this morning. It was the perfect orange sweet bread with just a hint of chewy tartness from the cranberries and a beautiful sugary crisp crust. 


I used the dried cranberries from the cranberry garland I made for our Christmas tree this year. I took down the tree and ornaments on Wednesday this last week and I soaked the cranberries in a sink full of water to get off all of the dirt and dust that had accumulated on them. After rinsing them off really good I stuck them in the fridge to use this weekend. I knew I wanted an orange cranberry bread since the cranberries were dried, and I had some beautiful oranges from grocery shopping last weekend that needed to be used.


Here is what you will need:

- 2 cups all purpose flour
- 1 cup sugar
- 3/4 tsp baking powder
- 3/4 tsp baking soda
- 1/2 tsp salt
- 3/4 cup fresh squeezed orange juice ( I used two large oranges)
- 1 Tbsp orange zest ( about 1 orange worth)
- 2 Tbsp coconut oil (or vegetable oil)
- 2 Tbsp milk (any kind)
- 1 egg
- 1 1/2 cup dried cranberries (or whatever kind you have on hand)


This year I am trying to focus on getting better at my mise en place. In case you don't know what that means it is fancy french phrase that means "putting in place" or to set up. I usually get all my ingredients out, but then just throw them together when they are needed. This year I'm going to try and measure out all my ingredients separately and then just be able to add them when they are asked for. It seems to take a lot more time and dishes to do this, but hopefully it will help me better understand each ingredient and how they effect the recipe. Or maybe I'm just being crazy. Who really knows, right? 


So first you want to preheat the oven to 375 degrees Farenheit and grease a 9"x5" loaf pan. In a large bowl whisk together the flour, sugar, baking powder, baking soda and salt. 


To the dry ingredients,  add in the orange juice, orange zest, oil, milk and egg. 


Mix all ingredients until just combined and stir in the dried cranberries. I decided to stick the dried cranberries in a food processor and give them a few little pulses to break them up a little, but you can bypass this step and just add them into the batter.


Spread out the batter evenly into the loaf pan and bake for 45-55 minutes. Check for doneness by inserting a toothpick into the center of the bread. If the toothpick comes out clean, then it is done. 


Take out of the oven and cool on a wire rack for about 15 minutes. 


Once cool, dump the loaf out of the pan and allow to completely cool before slicing. I added a sprinkle of powdered sugar to the top of my loaf for a little added sweetness and decorative accent. 


Slice and enjoy with a glass of milk or coffee. This bread is also great as a little mid-day snack.


Hope you guys enjoy!!

Peace.Love.Lauryn


Wednesday, January 1, 2014

Goals for the Year Twenty Fourteen


HAPPY NEW YEAR!!!!


We got a lot of good things out of 2013. I'm kinda sad to see it go, but there is much to look forward to in this new year. Already we have a new niece or nephew coming this year, some of our good friends are getting married, lots of new music albums, record pressings and shows to look forward to as well.  So I put together a little list of things that I would like to accomplish this year.


#1: Paint the living room. Once we get the living room painted we can work on getting rid of our carpet. Every year we take on a room or two to re-do. This is the year of the living room. I have big plans for it, and I can't wait to see how it will turn out. 


#2: Keep working out. This past year I did the insanity challenge and lost about 10 - 15 pounds. I hope to continue to work out and stay in shape. Currently the T25 workouts are keeping me on track. I love that it's only 25 minutes. I can do it real quick when I get home from work and still have time to shower, make dinner and still enjoy my evening. 


#3: Try new things. No matter how much you think David will hate something, you should try it anyway. Get creative with it. ( I plan on making a lot of recipes out of the cookbook I got for Christmas, Kitchen Revelry by Ali Larter. I heard about this book on a Dinning with Doug and Karen podcast I was listening to. It got great reviews and the recipes sounded interesting, but simple and easy at the same time. Plus it will give me a reason to host dinner parties for friends and family this year! :)


#4: More date nights. We spend a lot of time together, but I really love when we get a little "date night".  A special dinner at home or going to try a new restaurant should happen at least once a month and not just a few times a year. Make it happen!!


#5: Travel somewhere new. We always take our annual vacation to Omaha for the College World Series. Last year we went to Dallas and Houston for shows. This year I hope we can take a few more trips. California and Colorado are both on our must visit lists. 

It is a new year to learn and grow. Already I am feeling better about saying goodbye to 2013 and saying hello to a whole new year!

Peace.Love.Lauryn
Friday, December 27, 2013

~ Christmas 2013 ~

We had a wonderful Christmas this year. Got some new records, clothes and my personal favorite kitchen/cooking toys!!!

We spent lots of time with our crazy lovable families, and it was nice to have our own little Christmas this year too. I am so blessed to have such incredible people in my life.

Here are a few pictures that I took this December.


Day after Thanksgiving. Pulling out the few Christmas items we have from last year. This year marks our 2nd Christmas together in our home. 


This year I bought stockings since last years DIY stockings were a disaster. Hopefully these will last us for many many years. 

I also made our own DIY advent calendar. This was a lot of fun and I loved how it turned out.


Our Christmas Tree all set up. All of the ornaments were from last year, but we can't wait to keep adding to it in the years to come. 


The cats really loved the Christmas tree. We would continuously catch them drinking water from the base and they loved to hang out right next to it. Oh yeah, and every time I bring out the camera Apollo likes to charge at it, as if he is ready for his close up. Silly kitties!


My favorite part about our tree this year was the cranberry garland I made for it. I just adored the way it looked on the tree. I used fresh cranberries and strung them on embroidery thread. I read that you can take them off the tree, soak them in water and use them just as you would right out of the bag. So clever and festive!


I love to use butcher/craft paper for wrapping. I always have it on hand so I don't have to go buy special wrapping paper for birthdays, holidays or events. This year I added little personal touches such as the bakers twine and even hand painted on a few of the packages. The gifts looked beautiful under the tree and every time I walked by it would put a smile on my face. 


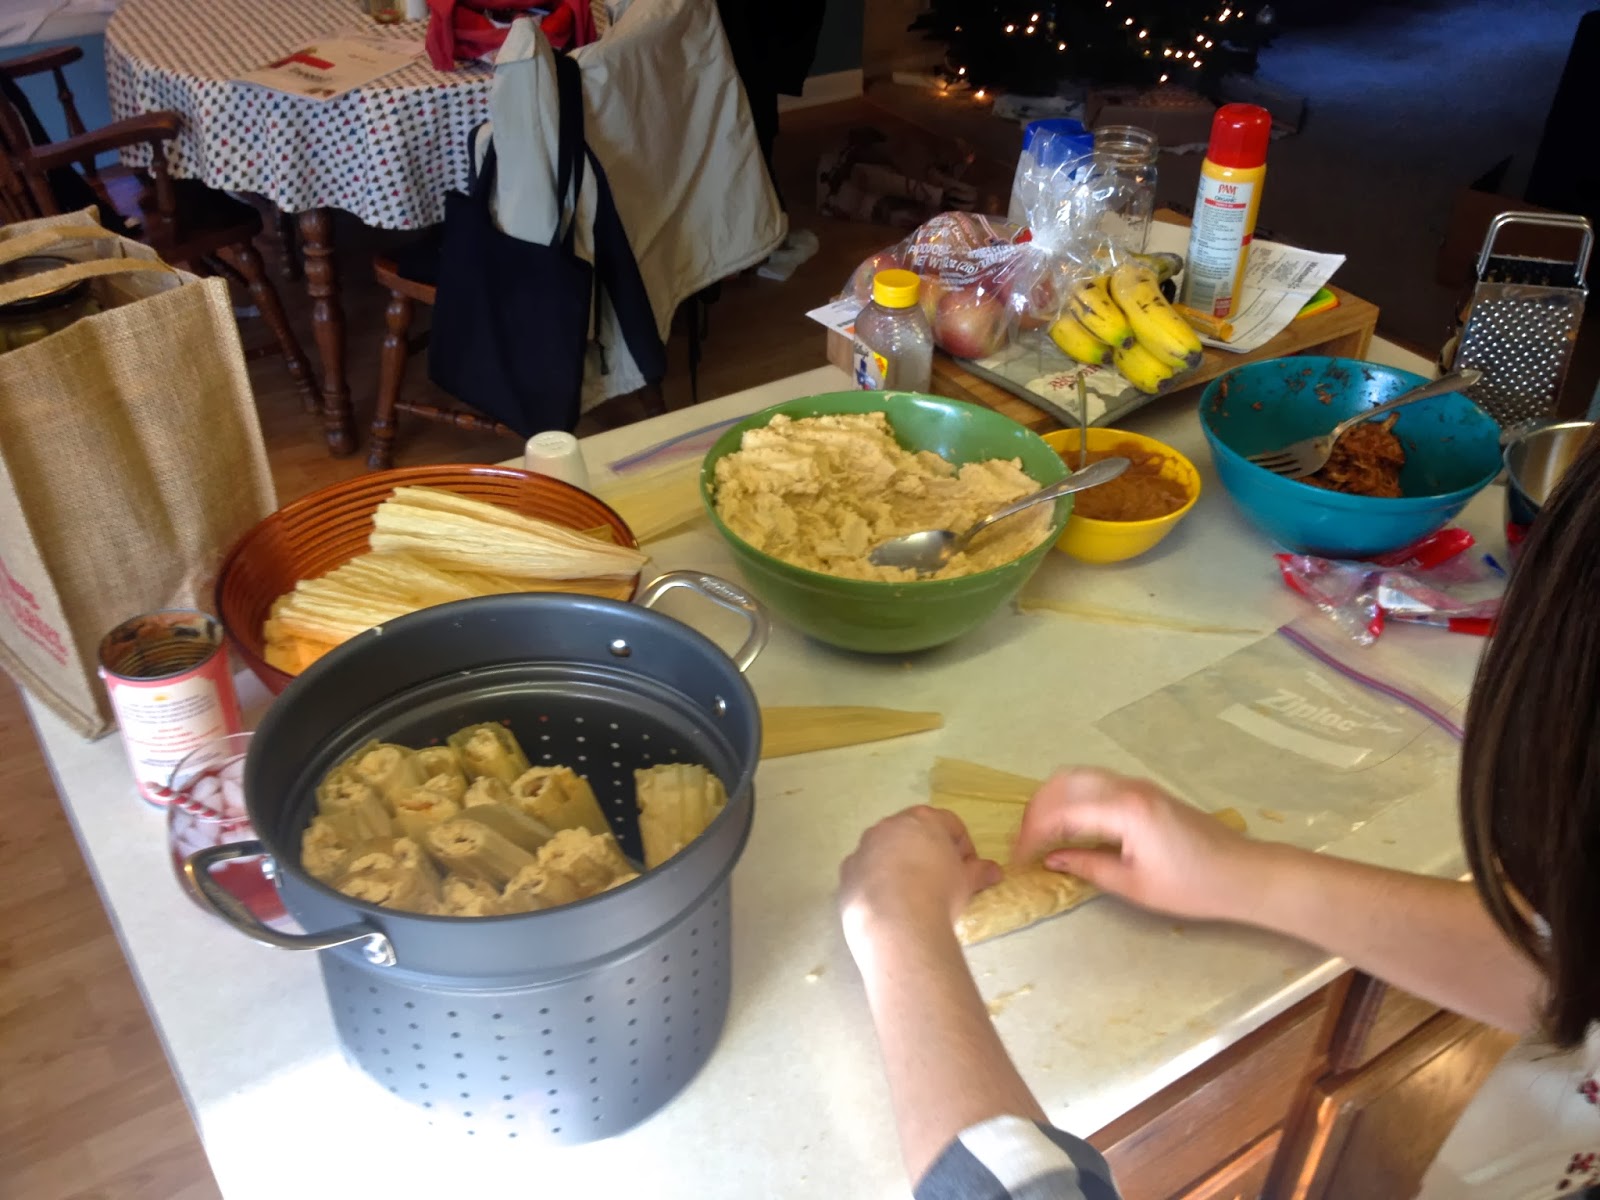
I conquered my goal of making tamales this year. It took me all weekend to make the pork and then assemble the tamales. They were somewhat successful, but you live and you learn. Next years tamales are going to be phenomenal I'm sure of it!! : )


We also went to see Anchorman 2!!!! We did the Anchorman and Anchorman 2 marathon with a few of our friends. We had more fun than was necessary, but I wouldn't have done it any differently!!


I told myself I wasn't going to make cookies this year since I made tamales, but it just doesn't feel like Christmas without my usual Christmas cookie extravaganza. 


We spent Christmas Day at my parents, ate lunch then headed home for a little nap before heading over to David's parents for stockings and dinner. 


Here are some of my favorite gifts this year. I always love getting cooking related gifts. David surprised me with the hot/cold culinary whipper kit. I didn't even ask for one, but it is my favorite gift this year and I can't wait to "whip" up some special meals with it. The cookbook and the mandolin were on my wish list this year and I have already marked off all the recipes I want to try (so like every page of this book is marked, because I want to make it all!)

I hope everyone had a wonderful Christmas spent with loved ones. 
This year was extra special and I'm glad I can document it here. It's like a scrapbook without all the mess! Love you all and see you next year!!


Monday, December 16, 2013

Toasted Fluffernutter Ice Cream


Everyone knows the Fluffernutter. That creamy peanut butter and sweet marshmallow cream sandwich.  Brings me back to my childhood days of after school snacks.


I had a few marshmallows left over from a previous recipe and found some great peanut butter chips at Trader Joes not too long ago so I knew what I had to do next….Fluffernutter Ice Cream!!!


The combination of creamy peanut butter and toasted marshmallows is perfect for ice cream so here is how I did it.

You will need:

- 2 cups heavy cream
- 1 cup milk
- 1 vanilla bean
- 1/2 cup sugar divided
- 5 egg yolks
- 1/2 cup peanut butter chips (or regular peanut butter)
- 2 cups marshmallows


Start off by making your ice cream base. I poured the heavy cream and milk into a small sauce pan with the whole vanilla bean. Bring that to a low simmer, cover the pan and take off the heat. Let that sit for about 30 - 45 minutes. This will infuse the cream with a little bit of vanilla flavoring. 


Once you let that sit you can place the pan back over medium heat and add 1/4 cup sugar. While that is heating up, separate the egg yolks and add the other 1/4 cup of sugar to the yolks and whisk to combine. 


Now for the marshmallows. Place the oven rack in the middle and turn your oven temperature to a low broil (if you don't have an option, just set it to broil). Place a piece of parchment paper over a baking sheet and grease the parchment paper. This will ensure that the marshmallows don't stick too much to the parchment paper once they melt. Spread out the two cups of marshmallows onto the greased parchment paper and place in the oven for about 5 minutes. Check on the marshmallows frequently because they will brown quickly. Once the marshmallows get a nice toasted color take them out of the oven and scrape them into a heat proof bowl.


Return the cream and milk to the stove. Once it starts to simmer you will want to slowly temper your egg yolks. To do this, add 1/2 cup at a time of the hot milk mixture to your bowl of eggs and sugar while whisking quickly to ensure the eggs do not cook. Keep adding 1/2 cup of hot cream to the eggs while whisking until more than half of the pan is gone. Then return the eggs and cream back into the saucepan over low/medium heat. Continue to stir frequently until the mixture thickens and coats the back of a wooden spoon.


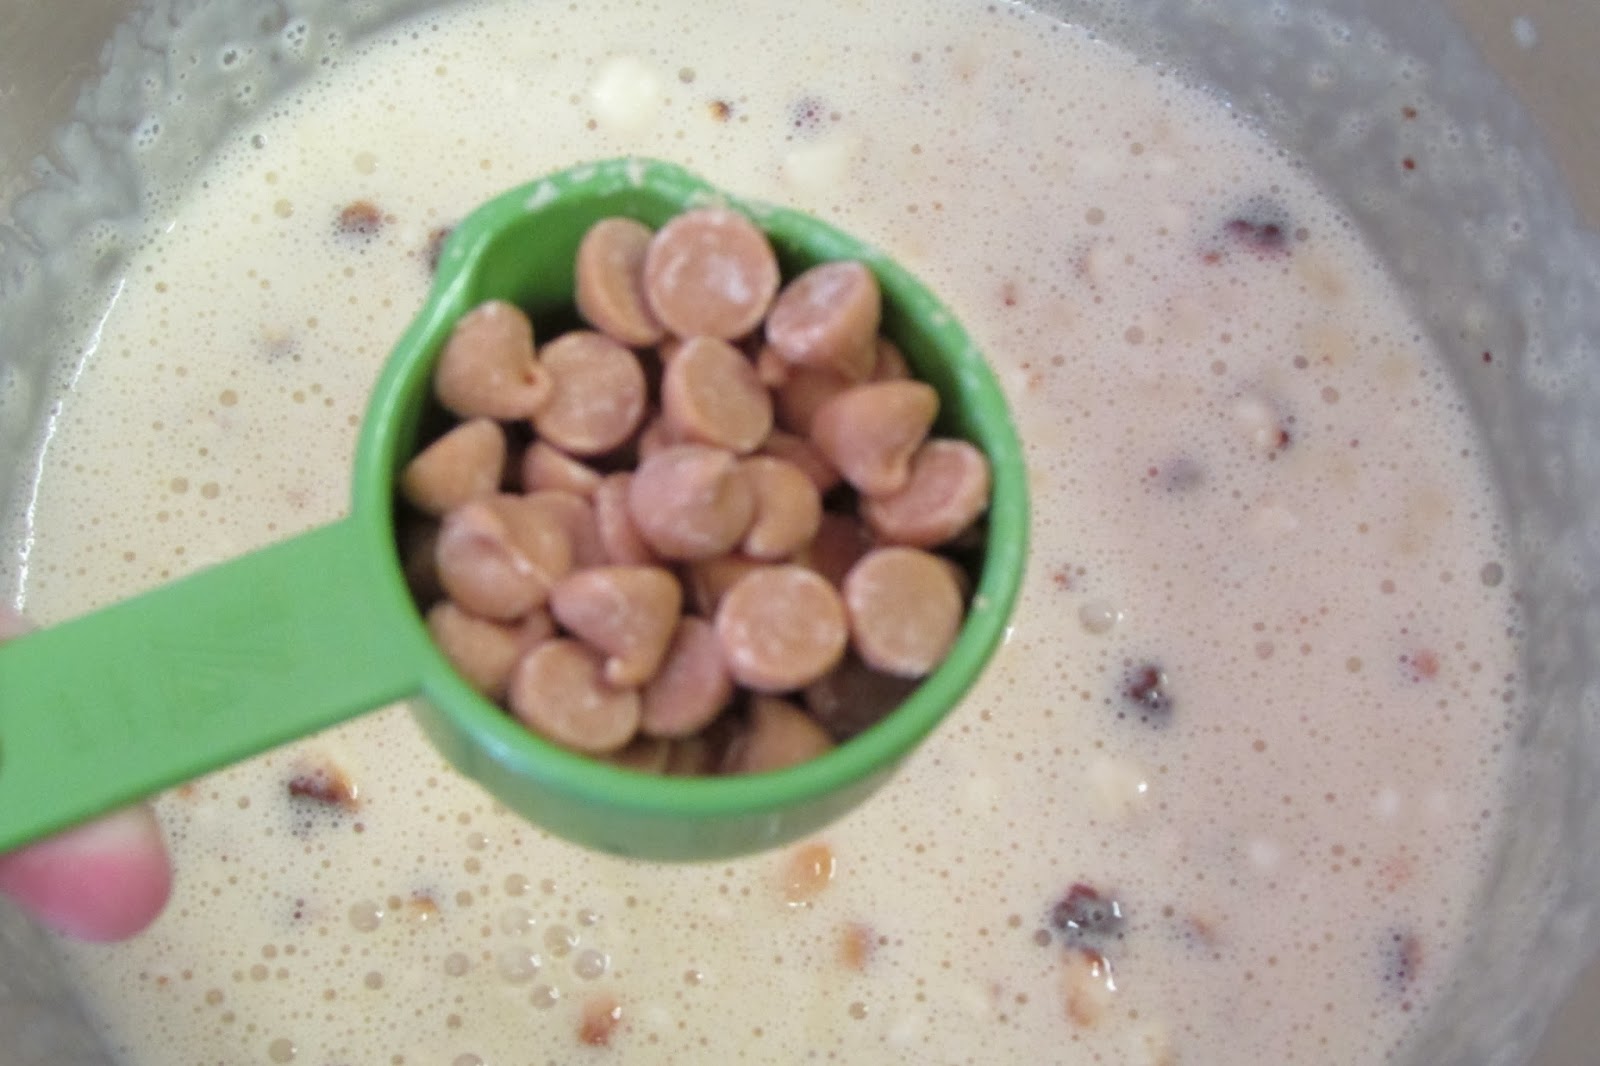
Then you will want to strain the hot cream and eggs into the bowl with the marshmallows. ( You can save the vanilla bean and use it for a future recipe, just make sure to rinse off all the cream. ) Then add the peanut butter chips (or peanut butter). Stir until all the peanut butter has melted and combined with the cream. Place the cream mixture into a bowl of ice water until it has cooled off. Cover the bowl and place in the refrigerator for about 8 hours or overnight.


Once the cream has chilled for awhile, pour into your ice cream maker and freeze per the manufacturer's instructions.

If you want soft serve ice cream then you can eat it right from the ice cream maker, but if you like your ice cream a little firm, then place into the freezer for a few hours or overnight.


It seems like ice cream is tedious to make, but it gets easier each time and it's so much better than store bought ice cream. Hope you guys enjoy!


Peace.Love.Lauryn