
For over a year now I have been making the same pizza crust week after week. In an effort to mix things up and try something new I came up with this easy garlic and herb pizza crust. I am absolutely in love with this new pizza crust recipe! I have come to believe that this is the best crust recipe I have found to date and I am excited to share it with you so you can try it out for yourselves.
This recipe produces around four 12" - 14" pizza crusts. Just enough to have a couple people over or save them for another night. This recipe calls for less flour than my old recipe so it mixes up easier in the kitchen aid mixer I have. This recipe is also ready in about an hour and a half so you can mix it up day of unlike the other pizza dough that sits in the fridge for at least 24 hours.

For this recipe you will need:
- 2 cups warm water
- 2 tsp dry active yeast
- 2 Tbsp sugar
- 4 1/2 cups flour
- 2 tsp salt
- 2 tsp garlic powder
- 1 tsp dried basil
- 1 tsp dried oregano
- 1 1/2 Tbsp olive oil

Start off by sprinkling the yeast into the warm water. The water should be warm, but not hot so that it activates the yeast and doesn't kill it.

Next sprinkle on the sugar. This will assist the activation of the yeast. Trust me, you always want to add sugar when you are working with dry active yeast. If you are using something else, you can always google how to use the substitute ingredients.

Give the sugar, water and yeast mixture a gentle stir and place it in a warm dark place for about 15 minutes. I usually just stick it in the turned off oven.

Here is what the yeast will look like when it is activated. A lovely little poof of foamy yeast resting on top of the water.

In a separate bowl combine the flour, salt, garlic powder and herbs. Give it a quick stir so that all ingredients are combined.

You will then want to slowly add the flour to the water mixture 1 cup at a time.

Once the dough comes together, add 1 Tbsp olive oil and continue mixing until the dough no longer sticks to the sides of the bowl. If it is still sticky, then you can add more flour until it stops.

From there you can knead the dough by hand or use the dough hook for the mixer. You will want to knead the dough for about 6-7 minutes or until the dough is smooth, elastic and no longer sticks to your hands.

Place 1/2 Tbsp olive oil in a bowl and add the dough. Flip the dough over so that it is covered with oil on both sides.

Then you will want to cover the bowl and place in a warm dark place for 1 hour or until the dough doubles in size.


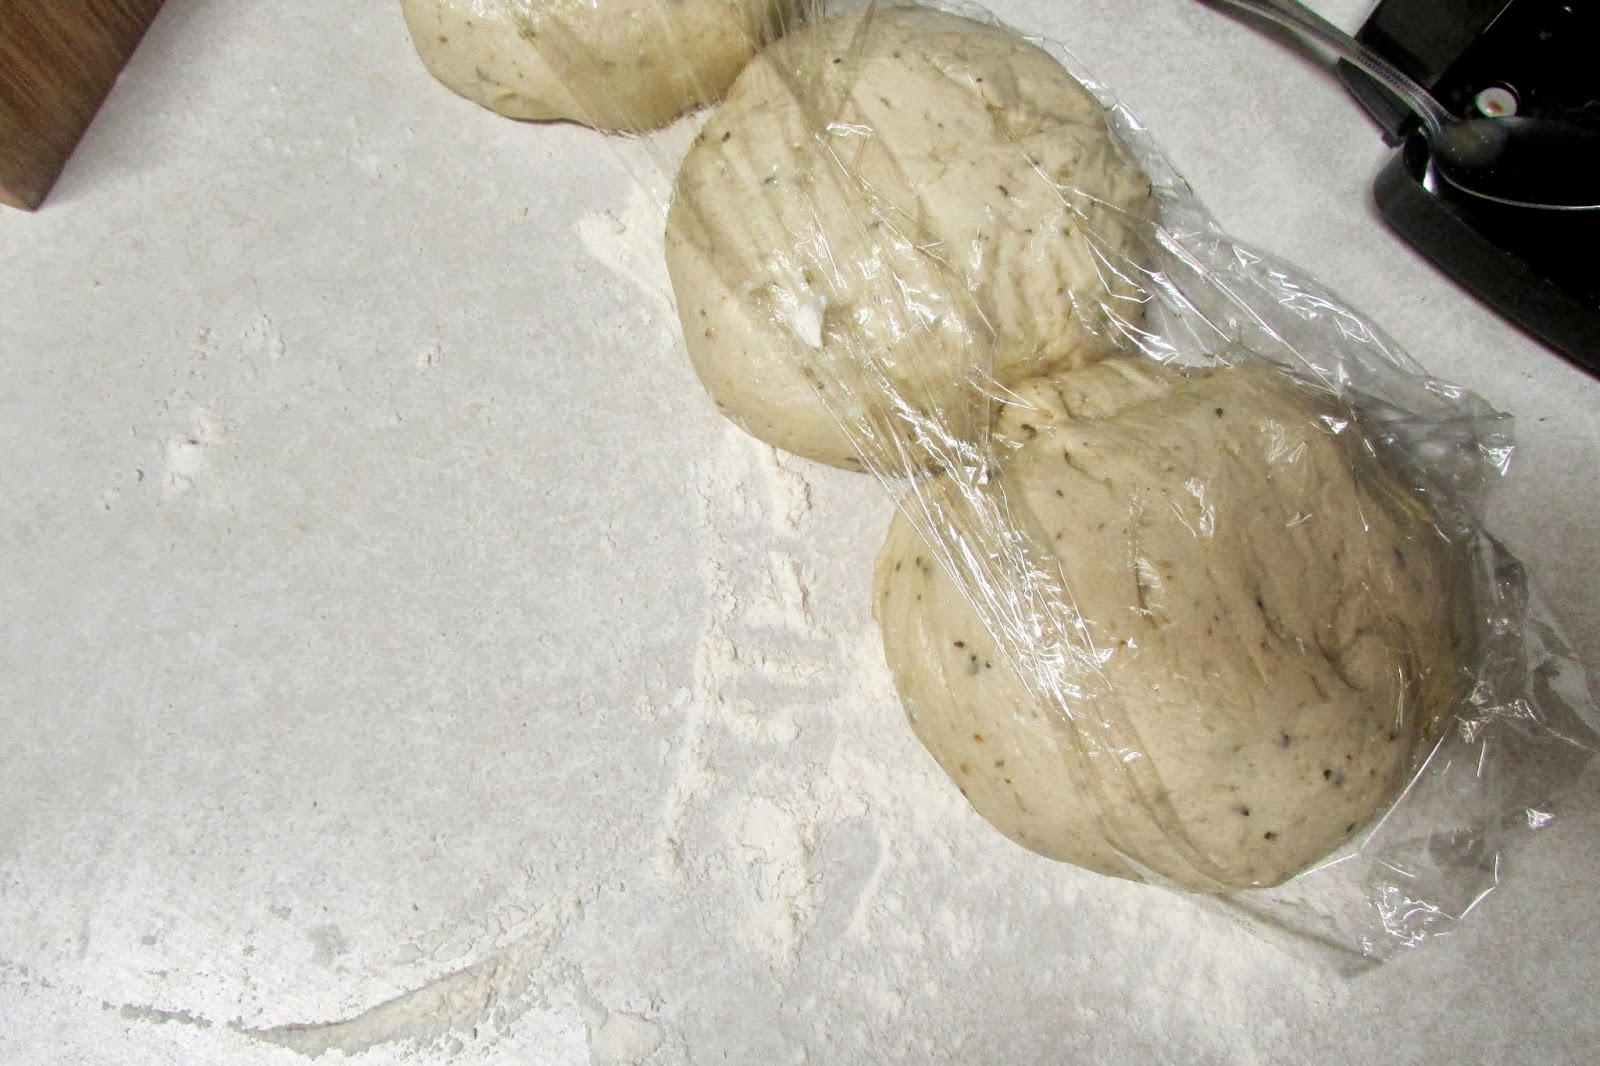
Once the dough has doubled in size you can split into four equal balls and let sit on the counter for about 30 minutes.

While the dough is rising for the second time, you can get your toppings and the oven ready.

When I cook my pizza dough, I usually place the rack on the second highest slot (just enough for the dough to fit underneath), and I preheat the oven to 550 degrees Fahrenheit (287.77 degrees Celsius). I let the oven preheat for at least 30-45 minutes before I stick the pizza in there. Yes this is very hot and will cook the pizza in a matter of minutes, so be sure to check on your pizza frequently until it is done. Mine usually takes about 5-7 minutes depending on how soft/crispy you prefer your pizza crust.
Make sure you roll out the dough on a lightly floured surface. You can coat both sides of the dough ball in flour and then use your hands to turn the dough while you flatten it. You can shape the dough into any size that you want including round, rectangular or even a heart shape as seen below :)


Another helpful tip is that I place my pizza on parchment paper and then a flat cookie sheet to help slide it onto the pizza stone. This keeps my pizza stone nice and clean and assists with moving the pizza from counter to oven and back out again. For me this is easier than adding additional flour to the bottom of the pizza which can dry out the crust and no one wants a mouthful of floury dry pizza.

If you have any questions, please feel free to ask them! You can check out my old Pizza Night post for more helpful tips on making your own pizza crust.
Pizza making can be tough at first, but once you get the hang of it it gets easier and easier each time. Do not be discouraged if the pizza isn't perfect your first time as it took me months to perfect the way that I like my pizza. You really have to experiment with it until you find what you like, but that's one of the most fun parts about making things from scratch! Hope you enjoy this recipe as much as I do!

Peace.Love.Lauryn
No comments:
Post a Comment